
Setting up a public web server using a Raspberry Pi 3
An archival 2017 note on exposing a Raspberry Pi 3 as a public web server and working around home-network limitations with tunneling.

This is an archival post from 2017. The networking ideas are still useful, but the tooling and production recommendations have moved on.
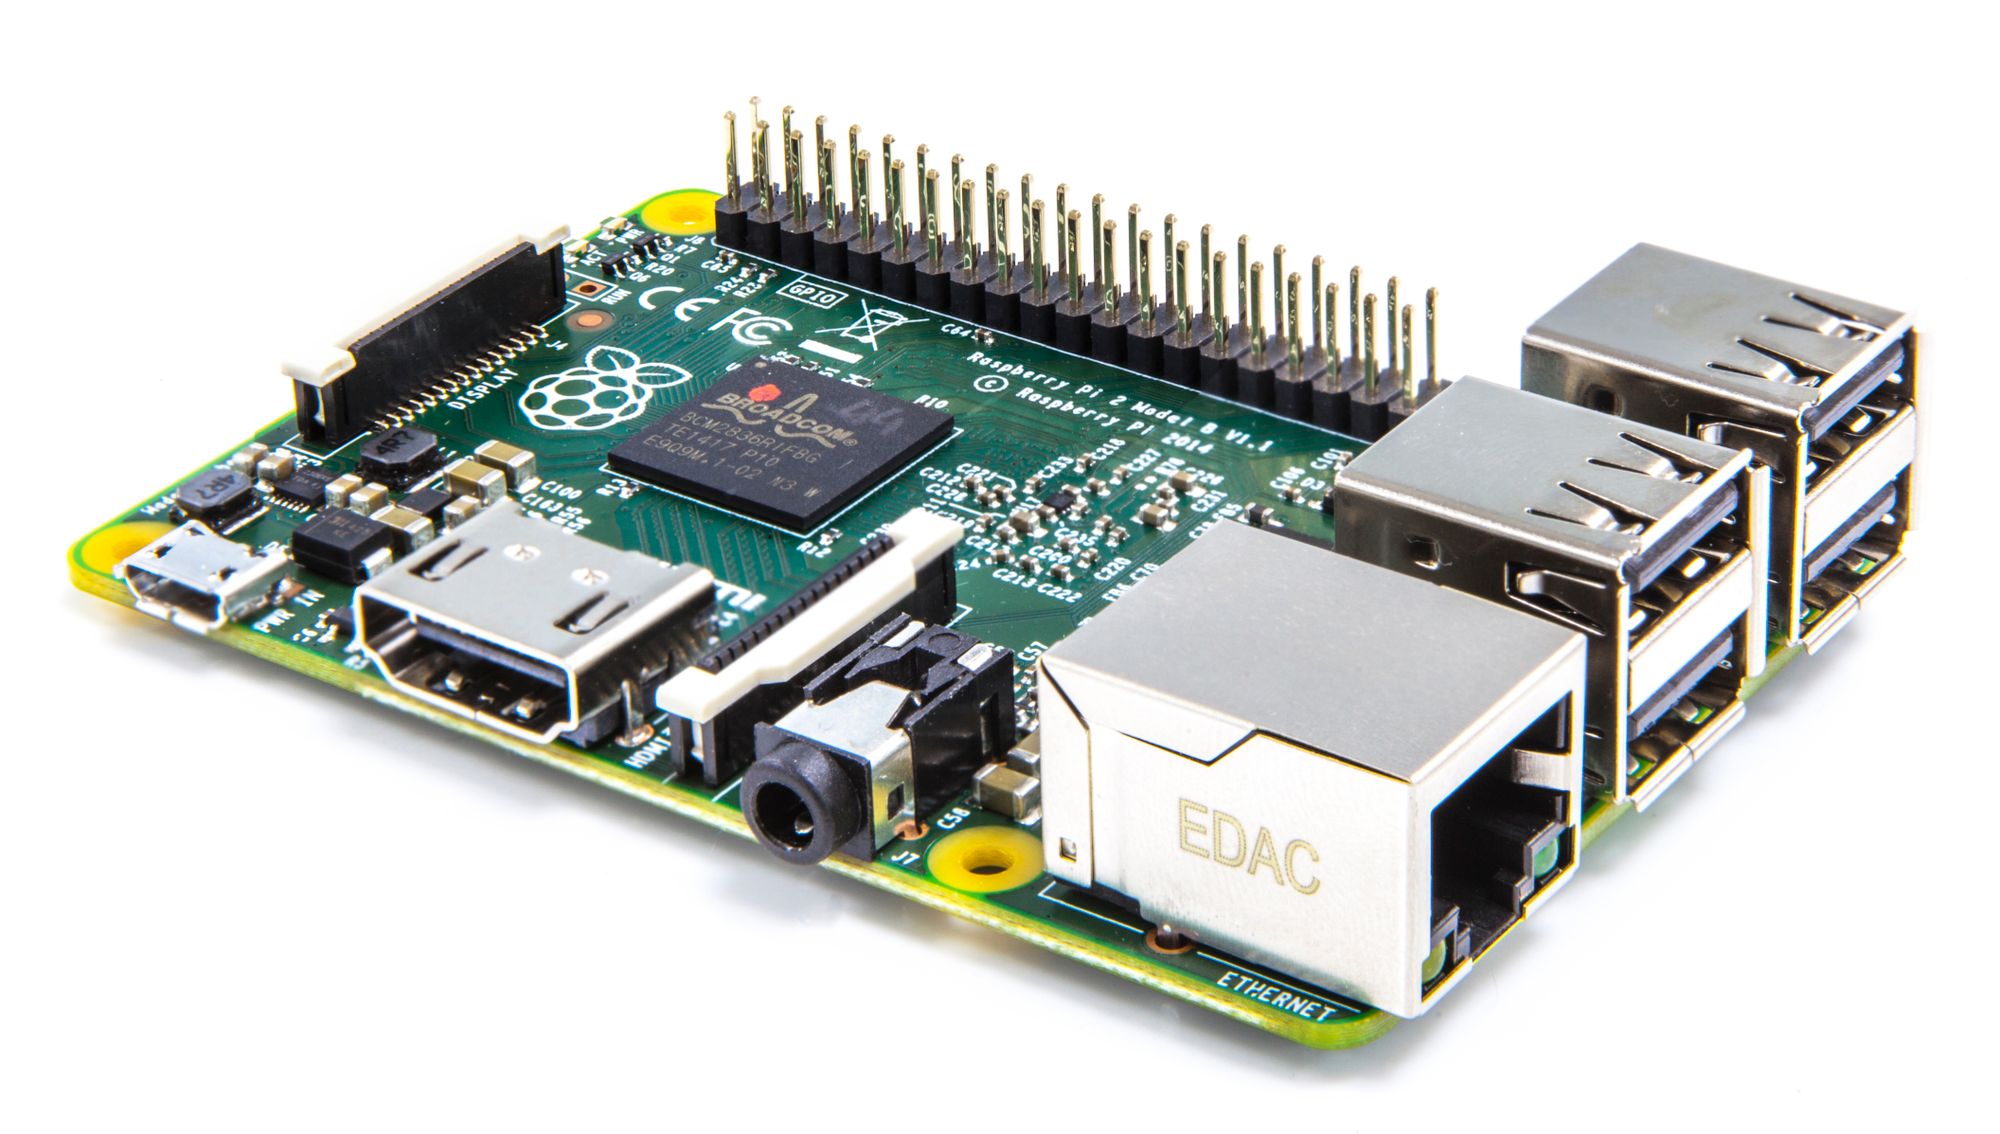
Very recently, I got hold of a Raspberry Pi 3 Model B. With the desire to setup a home automation system I first wanted to see if I could access the Pi publicly through my home's internet connection. This would have been the easiest task by just port forwarding if not for my ISP locking down the router behind a NAT-1 switch. This crushed my dreams of being able to do what I wanted.
I started looking at online solutions to securely tunnel from the Pi to the internet and obtain a publicly accessible domain. This is where I came across Ngrok, a service that allows you to tunnel a port on a machine and expose it publicly. Their use case surrounds demos and testing without deployments. However I tried to re-purpose it to setup a webserver on my Raspberry Pi.
Setting up the Raspberry Pi
What do we need:
- A Raspberry Pi 3
- A micro SD card with at least 8 GB space (16 GB recommended)
- An SD card reader
- Raspbian OS which can be downloaded from here
- Etcher which can be downloaded from here
- An internet connection (Wireless or wired)
Download Raspbian Stretch with Desktop from the raspbian download page. Plug the micro SD card into the reader. Unzip the Raspbian image from the download and use Etcher to write the image to the SD card.
Plug the micro SD card into the Pi and power it on. On the first boot you have no way of remotely connecting to the Pi. To configure remote access, plug the Pi into a monitor using the HDMI port. Connect a mouse and keyboard in order to configure the system. Go to Menu > Preferences > Raspberry Pi Configuration and under the localisation tab configure your Timezone, Locale and Keyboard layout. In needed to do this because the default region was set to UK and the keyboard layout wasn't the standard one I used. Go to the Interfaces tab and enable SSH and VNC. This is so that you can remotely access the Pi without having any peripherals connected to it.
Open a new terminal session and run passwd in order to change the password. the default password is raspberry
Configuring remote access
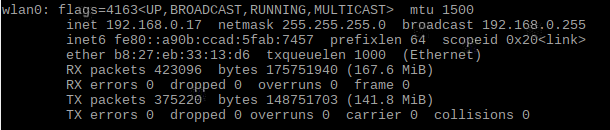
Open a new terminal session and run ifconfig and note down the IP address
Run the following commands:
$ sudo apt-get update
$ sudo apt-get install realvnc-vnc-server
$ reboot
$ sudo systemctl enable vncserver-x11-serviced.service
$ sudo systemctl start vncserver-x11-serviced.service
This should now setup remote access to your Raspberry Pi both graphical and terminal. Now you can go ahead and disconnect any peripherals you dont need connected.
To connect to the Raspberry Pi graphically, download RealVNC Viewer
Start VNC Viewer. Go to File > New Connection Enter the above noted IP in the VNC server field and give the Pi friendly name you can remember. Connect to the pi by double clicking on the new system you see on the dashboard. You should see a window like this.
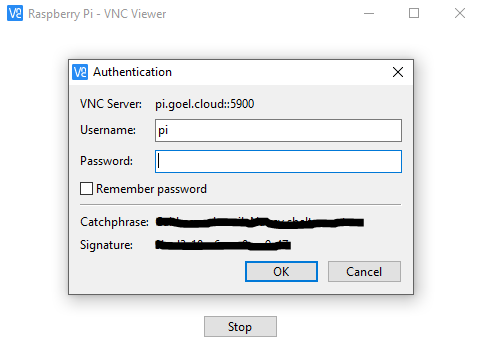
Enter pi as the username and the password you set earlier as the password.
You should now have a remote connection to the Pi.
Setting up a web server
For this task I decided to use Nginx due to it's lightweight nature. You can decide to use Apache if you do need to.
To setup Nginx:
$ sudo apt-get install nginx
$ sudo systemctl enable nginx.service
$ sudo systemctl start nginx.service
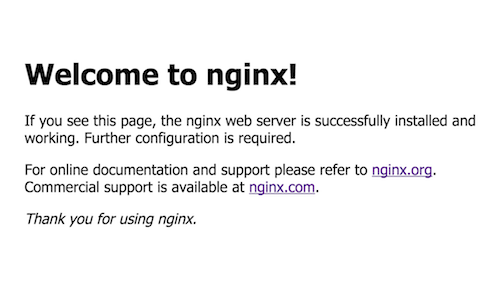
Browse to 127.0.0.1 in the browser within the Raspberry Pi and you should see a Welcome to Nginx page.
To change the contents of the site, navigate to /var/www/nginx and change the contents to the site you want to deploy.
Making the site publicly accessible
Now that we have our web server setup, we want to make it publicly accessible. This is where Ngrok comes in. Go to https://ngrok.com and register for and account. Note down the authtoken they give you. This will be used to setup the tunnel.
Download and install the Linux ARM version of Ngrok by running the following commands
$ cd /tmp
$ wget https://bin.equinox.io/c/4VmDzA7iaHb/ngrok-stable-linux-arm.zip
$ sudo mkdir /etc/ngrok
$ unzip ./ngrok-stable-linux-arm.zip -d /etc/ngrok/
$ rm ./ngrok-stable-linux-arm.zip
$ ln -s /etc/ngrok/ngrok /usr/local/bin/ngrok
Create a new file ~/.ngrok2/ngrok.yml with the content below. This is the configuration file Ngrok looks at to begin tunneling. If you want to protect access to the site you can add an auth option auth: "username:password" and this will protect your site via basic auth
authtoken: your-auth-token
tunnels:
  pi:
    proto: http
    addr: 80
Once we have Ngrok configured, we need to set it up to run as a service. This is so that we don't need to keep a terminal session running.
Create a new file lib/systemd/system/ngrok.service with root permissions.
[Unit]
Description=Ngrok
After=multi-user.target

[Service]
Type=simple
ExecStart=/etc/ngrok/ngrok start -config /home/**yourusername**/.ngrok2/ngrok.yml --all
Restart=on-abort

[Install]
WantedBy=multi-user.target
To start the service
$ systemctl daemon-reload
$ sudo systemctl enable ngrok.service
$ sudo systemctl start ngrok.service
Navigate to http://127.0.0.1:4040/status and you should see the name of your ngrok domain.

If you do want to setup a custom domain, it is only available on a paid plan. Review the pricing and if you find it useful, choose the plan that best suits you.
Navigate to the URL you obtained from the dashboard. Congratulations! You now have a public web server on a Raspberry Pi.